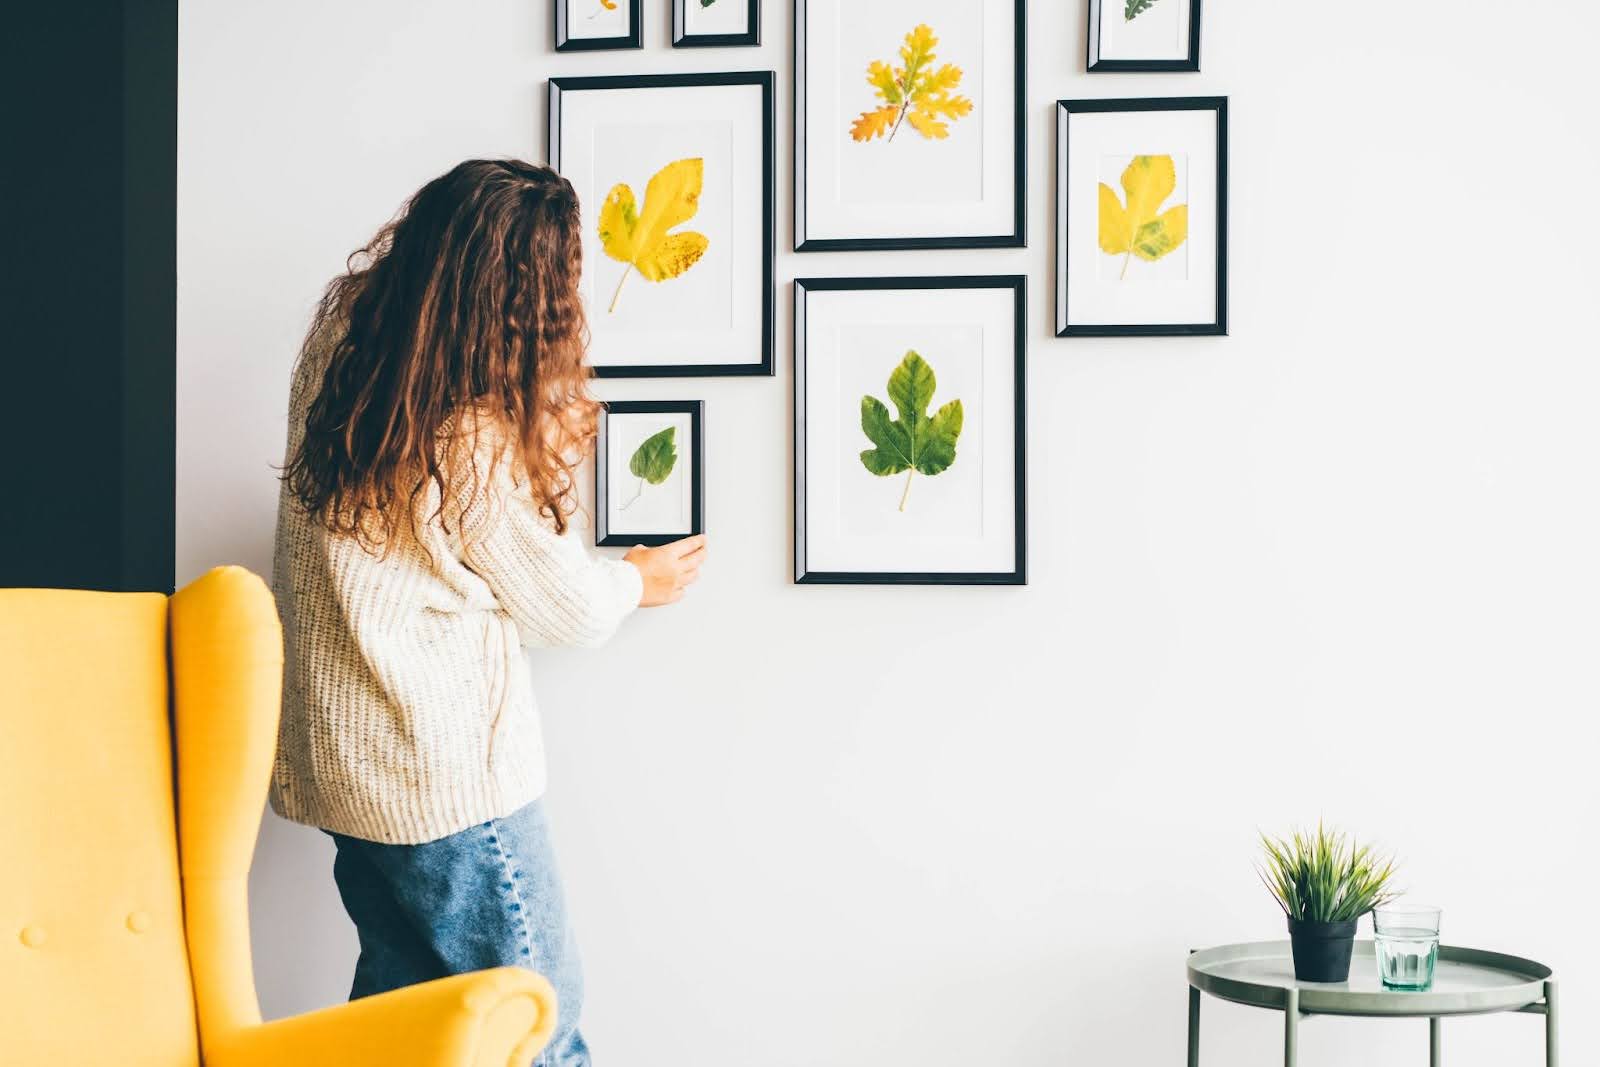
A gallery wall is more than just an arrangement of framed artwork; it’s a statement, a focal point that elevates the ambiance of any room. This curated collage of images brings personality, depth, and sophistication to your living space, transforming a blank wall into a captivating showcase of your personal memories or brand identity. Whether you’re a marketing professional or a novice DIY enthusiast, figuring out how to hang a gallery wall can seem daunting. But with the right tools, techniques, and a touch of creativity, you’ll be able to create a professional-looking presentation that rivals an art gallery display.
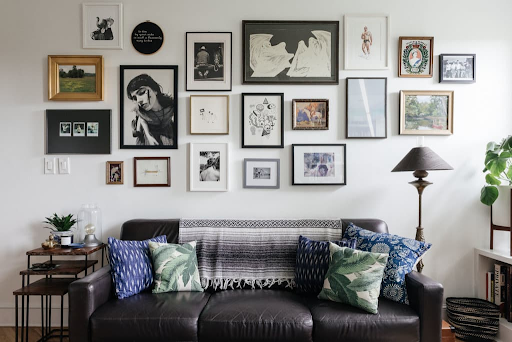
Supplies Needed to Hang a Gallery Wall
Photo Frames
Select picture frames that complement your decor and artwork. Choose from a variety of sizes, shapes, and finishes to add visual interest to your gallery wall.
Pencil
Essential for marking placement on the wall and ensuring precise alignment of your frames.
Painter’s Tape
Use painter’s tape to map out the layout of your gallery wall before making any permanent marks or holes. This allows for easy adjustments and ensures proper spacing between frames.
Nails
Opt for nails that are sturdy enough to support the weight and overall size of your frames, shadow boxes, or acrylic shelves.
Drywall Screws and Anchors
If you’re hanging frames on drywall, use screws and anchors to secure them firmly in place and prevent any accidents.
Level
A level is crucial for ensuring that your frames are perfectly straight. Invest in a quality level to achieve professional results.
Drill or Screwdriver and Hammer
Depending on your wall type, you’ll need either a drill or a screwdriver and hammer to install the nails or screws securely.
How to Hang a Gallery Wall in 7 Steps
1. Pick a Large Wall
Choose a spacious wall that serves as a blank canvas for your gallery display – the bigger the wall, the more room you’ll have for a comprehensive array of both statement pieces and smaller artworks. You should also take into consideration the lighting conditions of the wall and the proximity to other elements in the room, such as furniture and other display items.
2. Lay Out the Art Before Drilling Holes
While you may have a clear vision of where each frame should go, it’s not until the holes are drilled and the frames are up that you might realize adjustments are needed. To prevent this, start by laying out your frames on the floor and experimenting with various arrangements. This approach grants you the freedom to fine-tune the spacing and composition until you achieve a balance and flow that you really love.
3. Mark Painter’s Tape to Know Exactly What Goes Where
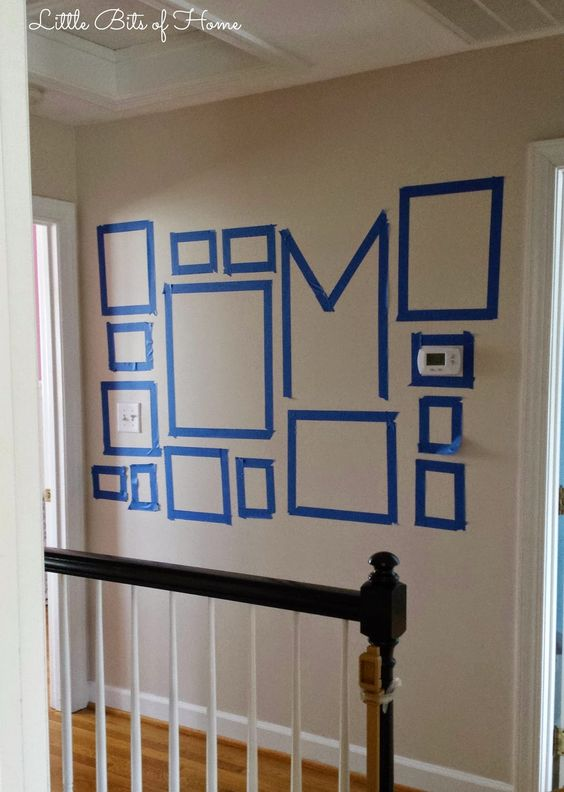
By mapping out the arrangement with painter’s tape first, you create a visual guide that allows for precise alignment without committing to permanent marks on the wall. This method ensures that you have a clear understanding of how each frame will fit into the overall composition before drilling any holes. It also provides the flexibility to make adjustments easily, allowing you to experiment with different layouts until you find the perfect configuration.
4. Use a Level To Make Sure Everything is Straight
Before drilling any holes, use a level to ensure that your painter’s tape lines are straight. Adjust as needed to achieve perfect alignment. This attention to detail not only enhances the visual appeal of your gallery wall but also creates a sense of cohesion and harmony within the space.
5. Put a Larger Piece in the Center
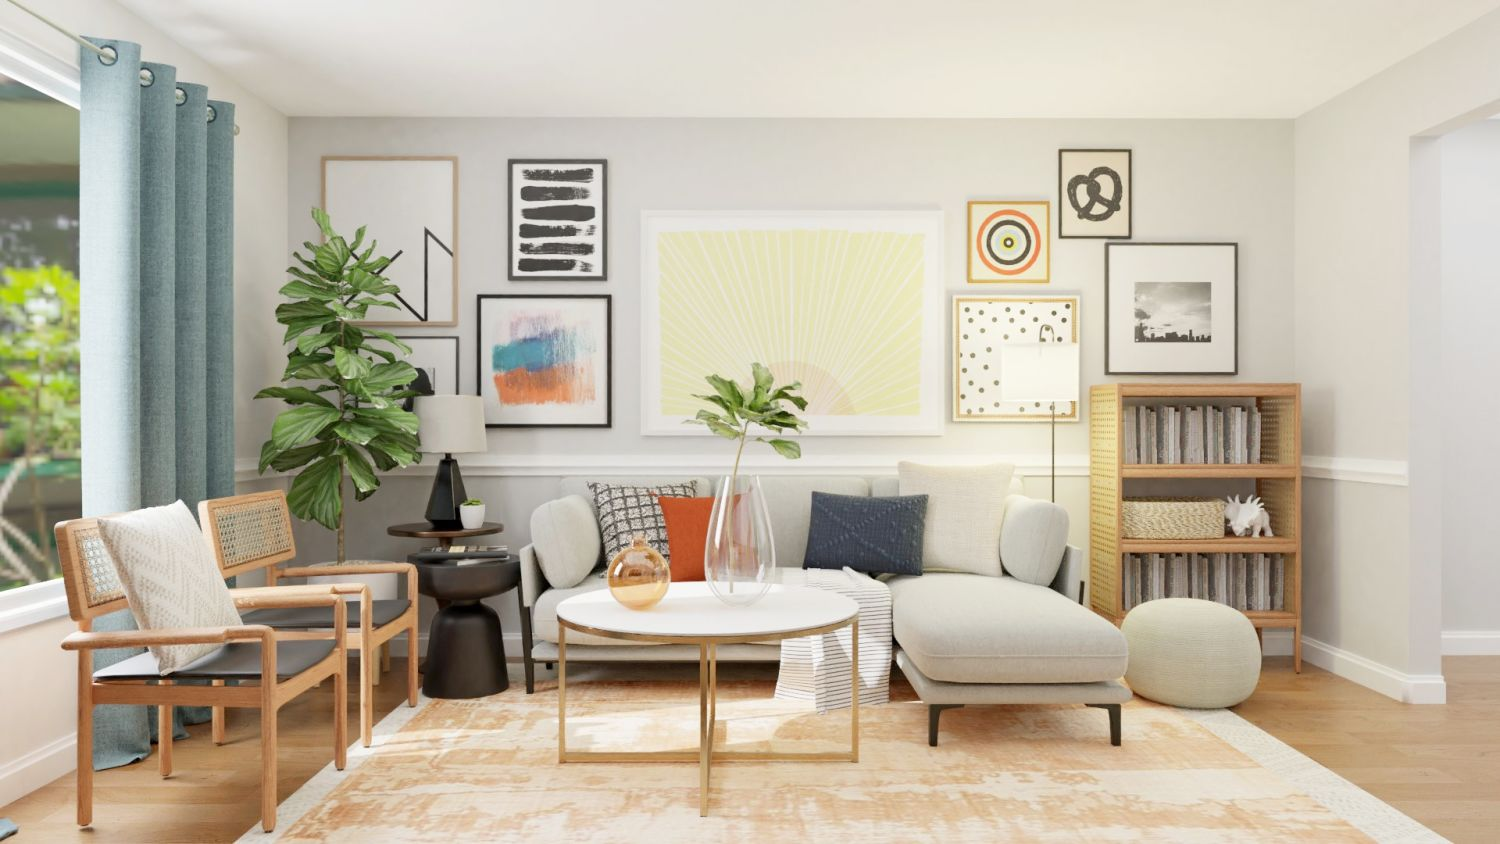
Positioning a larger piece in the center of your gallery wall serves as a strategic focal point, anchoring the entire display and establishing a visual hierarchy. This central element commands attention and sets the tone for the arrangement, drawing the eye inward and creating balance and symmetry. By beginning with a larger frame at the center, you lay a strong foundation from which to build outward, enabling smaller frames to complement and accentuate the main focal point.
6. Combine Horizontal and Vertical Art Pieces
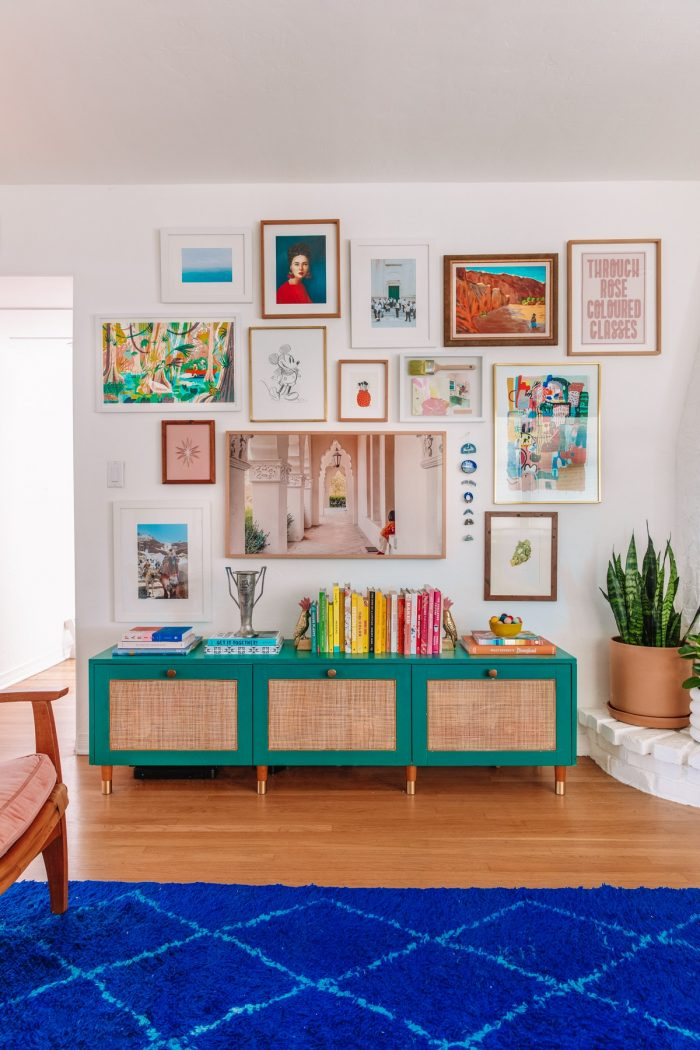
Combining artworks of varying orientations creates a dynamic juxtaposition that stimulates the eye and enhances the overall aesthetic. Horizontal pieces can help elongate the wall space and create a sense of movement, while vertical pieces add height and draw attention upward. This interplay of orientations adds dimensionality to the display, breaking up monotony and infusing it with personality and character. Plus, mixing horizontal and vertical art pieces allows for greater flexibility in arranging the layout.
7. Mix Your Frames
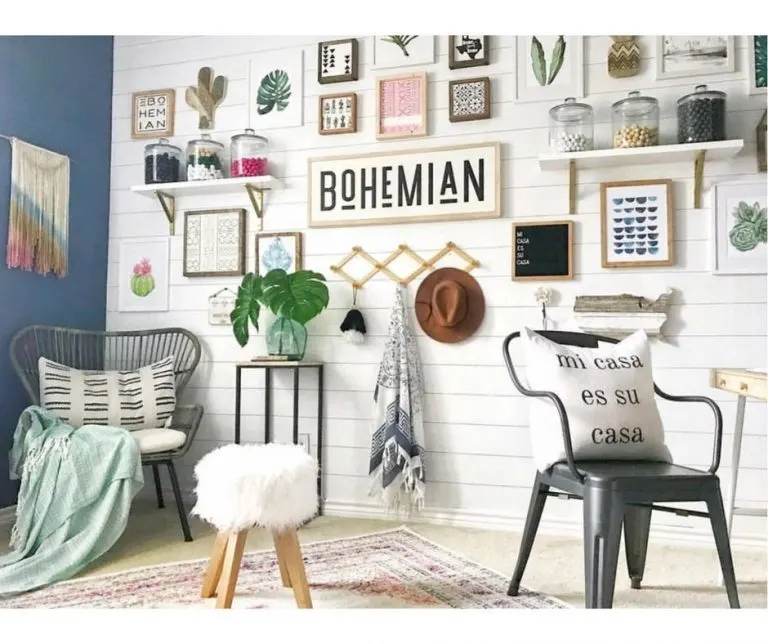
Integrating a variety of different materials and aesthetics further allows you to express your unique style. For example, mixing ornate vintage fixtures with a sleek acrylic shadow box, rustic wooden options, and easy-to-use snap frames creates an unexpected combination that catches the eye. Incorporating shelves and display cases into your gallery wall are great ways to highlight smaller frames, decorative objects, and even plant displays, adding plenty of dimension and interest to your display. You can add memorable photography using a magnetic-close picture frame to add a personal touch to the featured artwork as well.
Choosing shopPOPdisplays for Your Art Gallery Wall Displays
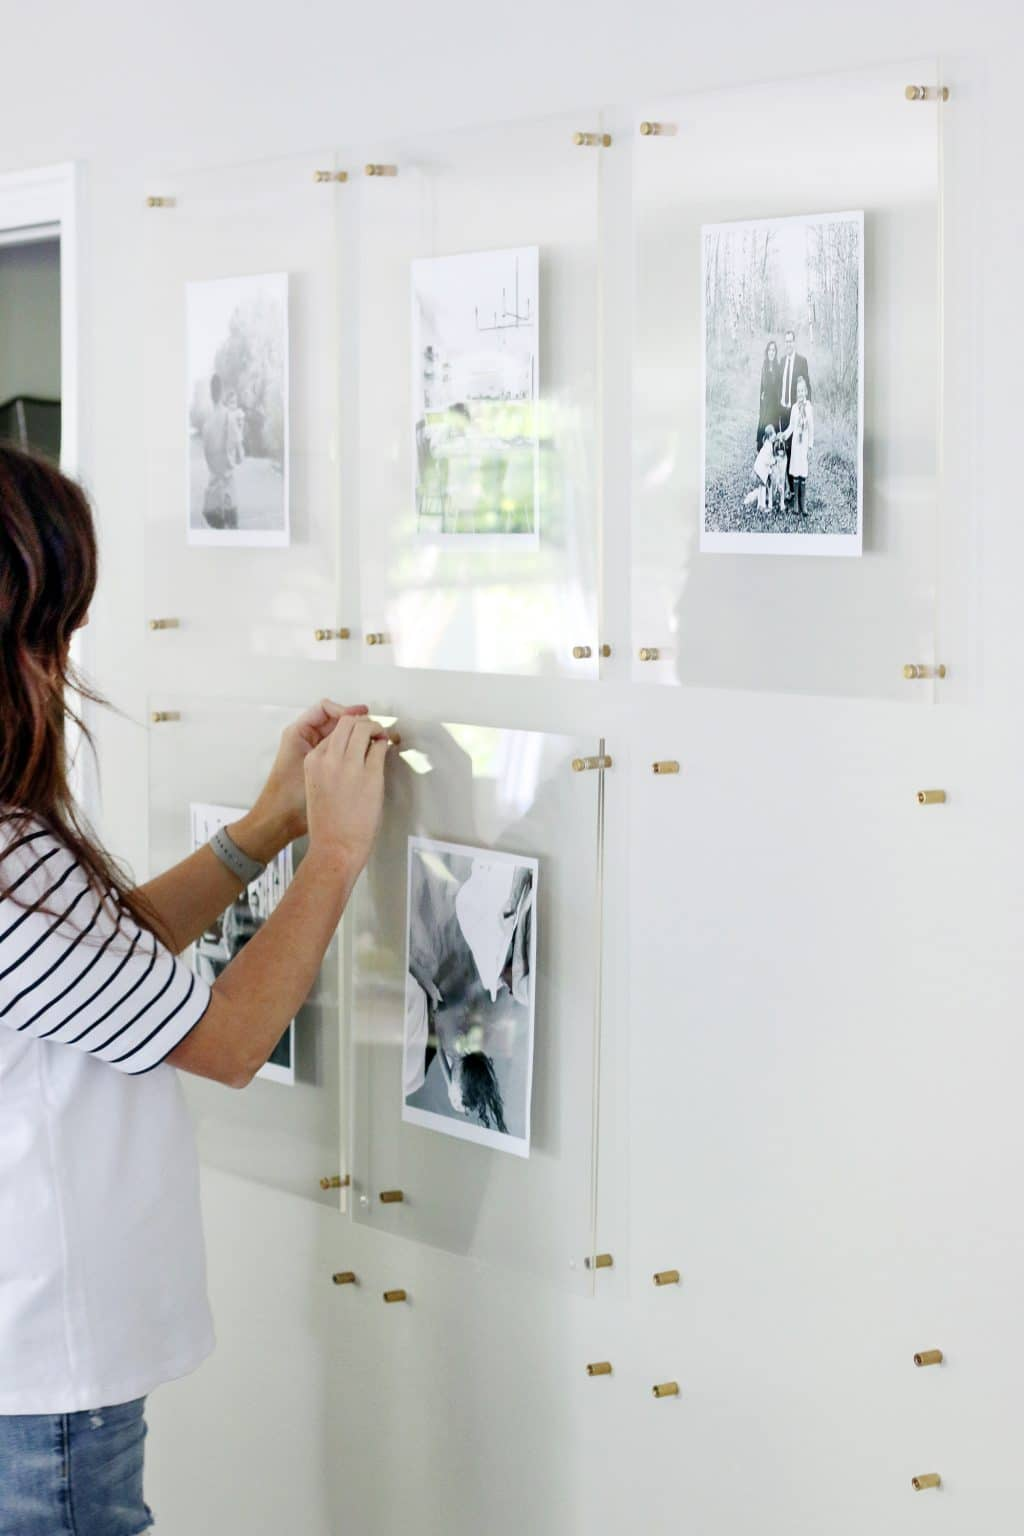
When it comes to selecting high-quality frames and display solutions for your gallery wall, look no further than shopPOPdisplays. With a wide range of art gallery display options to suit every style and budget, shopPOPdisplays offers premium frames that will showcase your artwork beautifully. From sleek modern designs to timeless classics, you’ll find the perfect frames to complement your gallery wall. Plus, with durable construction and easy installation, shopPOPdisplays ensures that your gallery wall will stand the test of time.
Get ready to roll up your sleeves, gather your supplies, and unleash your creativity as you embark on the journey of mastering how to hang a gallery wall.

